[[titleTag|See instructions below for collecting damaged nails.]]
Important! Suitable sample material includes damaged nail pieces and nail dust from areas with whitish-yellowish discoloration, each about 1-2 millimeters wide.
The sampling process should not be painful.
[[instructionDetailTag|1|STEP|Before collecting the nail material, make sure to remove any nail polish (including treatment polish).|#|]]
[[instructionDetailTag|2|STEP|Clean the damaged nail with the cleaning wipe provided in the kit.|#|]]
[[instructionDetailTag|3|STEP|Begin collecting the sample material from the damaged nail onto the black envelope according to where the damage occurs:|#|]]
[[instructionDetailTag|3.1|STEP|Damage on the sides of the nail: Use scissors or nail clippers to separate nail pieces for sampling from the site of damage on the nail corners or sides/growth junctions/ends, each piece being 1-2 millimeters in size.|#| ]]
]]
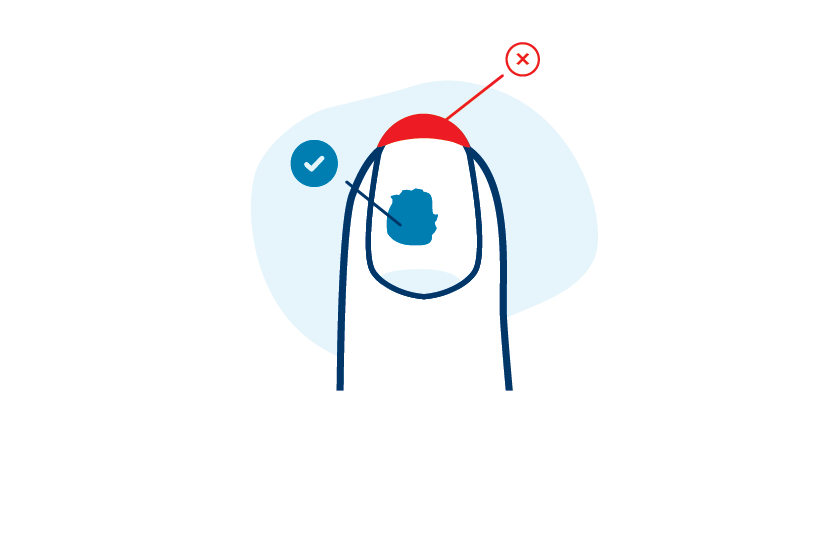
[[instructionDetailTag|3.2|STEP|Damage to the surface of the nail plate: Scrape nail pieces/dust from the area of damage and discoloration.|#| ]]
]]
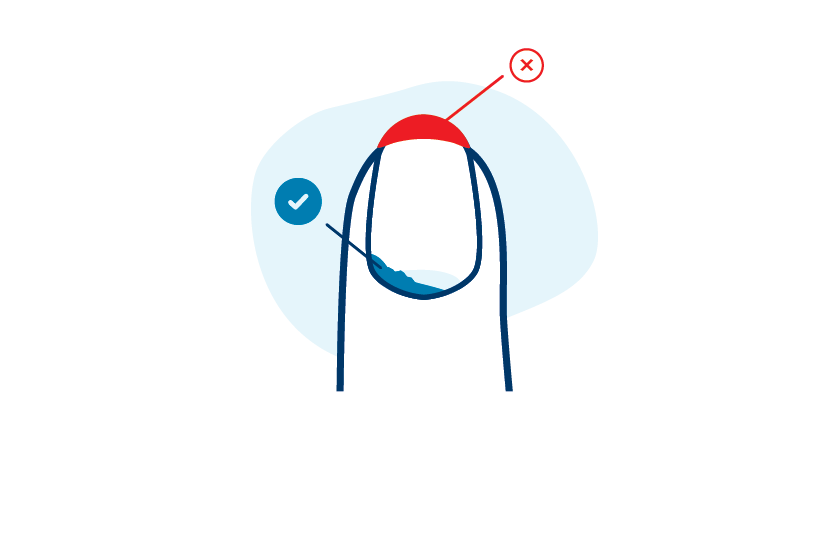
[[instructionDetailTag|3.3|STEP|Damage to the nail fold: Scrape sample material from the nail and nail fold, including the whitish-yellowish damaged nail area. Important! Do not collect the nail growth extending beyond the fingertip or toe tip for the sample! Remove it and discard it in household waste!|#| ]]
]]
[[instructionDetailTag|4|STEP|Pour the collected material from the envelope into the sample container. The optimal amount of sample material for the study to be collected on the black envelope is shown in the diagram.|#|]]
[[instructionDetailTag|5|STEP|Carefully seal the container. Dispose of the black envelope in household waste.|#|]]
[[instructionDetailTag|6|STEP|Clean your nail scissors or clippers with the second provided cleaning wipe after the procedure.|#|]]
[[instructionDetailTag|7|STEP|Write your name, personal identification code, and the sampling date on the container.|#|]]
[[instructionDetailTag|8|STEP|Place the container in the return envelope and send it back to the laboratory via SmartPost.|#|]]

 Booking for sampling
 Panels
 Single tests
 Home tests
 Consultations
 Gift cards
 SYNLAB Bus
 Children
